


Programming the Microbit using a PC or notebook (Windows & Mac)
CONNECTION – PC or notebook (Windows & Mac)
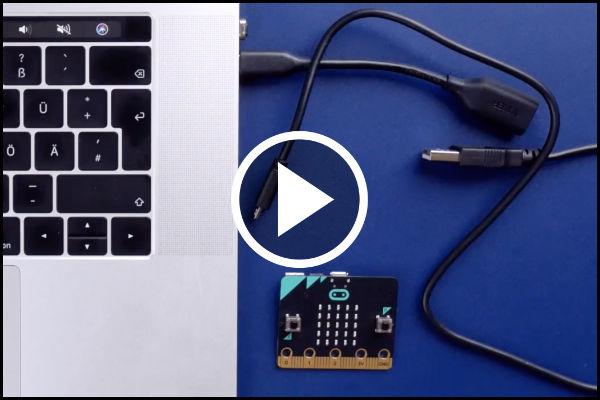
Connect your Microbit with your PC or notebook using a USB cable. A new drive called MICROBIT will appear in the file manager (also known as Finder [Mac] or Windows Explorer). If your Microbit is not detected, you might be using a cable for charging devices instead of a data cable.
PROGRAMMING – PC or notebook (Windows & Mac)
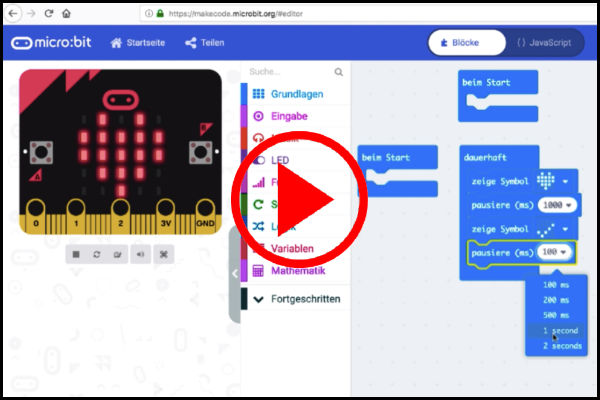
- In your web browser, open the Makecode page for the Microbit.
- To create a new project, click “New project”.
- You will now create your first program using code blocks.
TRANSFERRING DATA – PC or notebook (Windows & Mac)
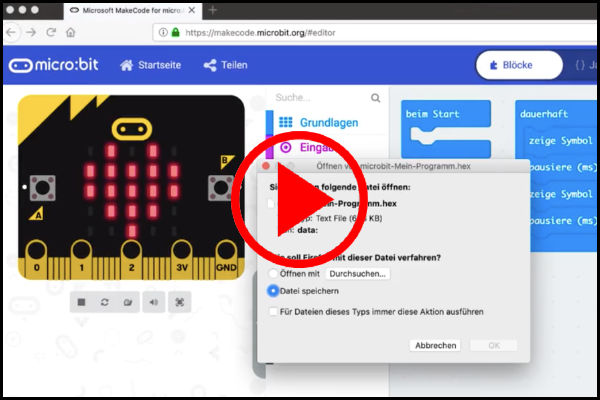
Name your program and click the download button.
Switch to the Download folder and drag the saved file to the “MICROBIT” drive.
Then wait for the data transfer to complete.